
Another year to go overboard on my daughter’s Halloween costume. But it’s fun for both of us – she gets a great costume, and I get to work on a fun, creative project.
Side note – my original version of this article was nearly 3000 words long. So I’ve created two versions:
- The TLDR summary version, which is below. You get some pretty pictures, a few anecdotes, and just a hint of how I made the dress. It’s probably still too long, though. Those who know me, know if nothing else, I’m wordy.
- The long version, which includes more of the story, and which is probably detailed enough to help someone make their own Merida costume, is linked HERE.
So… pick and choose the one you want to read. Or, if you are REALLY dye-hard (pun intended) you can read BOTH! :-)
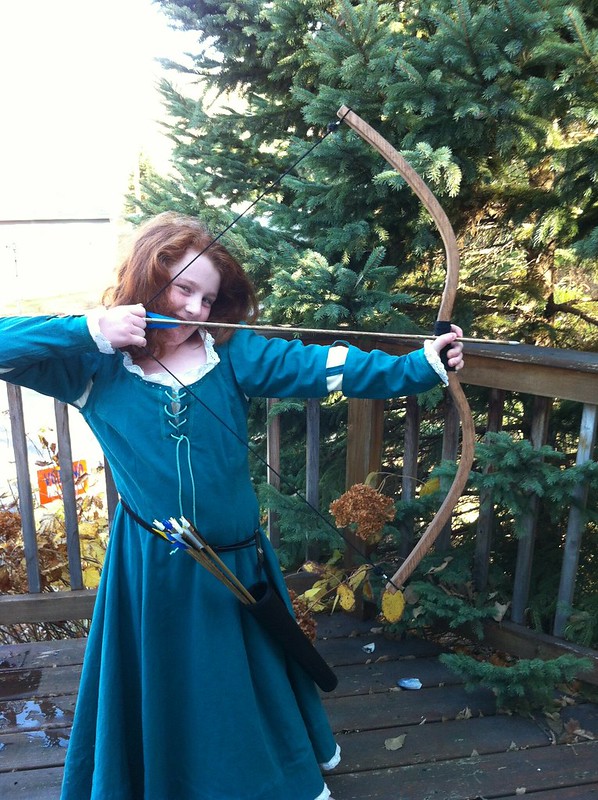
This year, Kivi is dressing as Princess Merida, from the Pixar movie Brave. Since she has naturally red, wavy hair, it seemed like a natural fit. Besides, Merida isn’t just a princess (although, that’s an added bonus), she’s also a badass archer.
Merida wears three dresses in the movie, but I only wanted to make what I think of as Merida’s favorite dress – it’s a dark turquoise dress with detached and split sleeves that allow full arm movement so that she can shoot properly.
It’s THIS dress:

After a brief search of online how-to’s, I settled on McCalls M5499. It has the right kind of bodice and skirt (princess seams), and a dip in the front neckline. It also had plain sleeves, which is a good starting point. No pattern exists for the detached sleeves, so I knew I was on my own for that part. The pattern laces up the back, which seems fitting enough.

Sizing was a problem, though. Kivi fell exactly between the child and adult version of the pattern. The kid’s version of the pattern covers sizes 3-8, with a chest measurement topping out at 27”. Kivi is almost 11, and has a 30” chest, so the kid pattern wasn’t going to work.
The adult version is for sizes 8-22, with chest measurements starting at 32.5”, which is slightly closer to Kivi’s size. All-righty, then. Adult pattern, it is. I wasn’t sure how I’d make it fit, because she is quite a bit smaller than a woman’s size 8 (perhaps a 4?). I figured I’d think of something.
I chose a dark turquoise linen/poly blend for the outer dress. The real (ahem) Merida’s dress would mostly likely have been made of wool, which is too expensive, impractical, and too difficult to get. Linen was in common use during medieval times (especially among the nobility), so I considered that a good substitute. (We’ll just have to ignore the - strictly modern – polyester.) Besides, I could use a 50% off coupon from Joanne’s to buy it. Cheap trumps historical authenticity!
I used a cream cotton flannel for the underdress/chemise. Cotton did exist during medieval times, even in Europe, but it was expensive and only rarely used in northwestern Europe. The fact that it existed there at all, is good enough for me. Besides, it’s cheap (even before using coupons), soft, and warm.
I washed and dried the fabrics 3 times (in my thoroughly modern washer and dryer – no trips to a local stream were necessary). The turquoise fabric was bleeding a lot though, even after 3 washes, so I treated it with a product called Retayne to prevent further dye-loss. I didn’t want it to dye the chemise blue in future washes.
I cut out the pattern twice – once for the outer dress and once for the chemise.

I’ve mentioned historical authenticity. Don’t let that fool you – I never even considered hand-sewing the dress, which I avoid as much as possible!
Constructing the main part of the two dresses was easy. I just followed the pattern instructions for body of the dresses, and only deviated from the instructions slightly:
- On the chemise, I finished the neckline straight across (no dip in the front), and I didn’t use facing pieces to finish the raw edges of the neckline and back opening. Instead, I just finished the raw edges with bias strips cut from scrap flannel. I constructed and attached the sleeves normally. I sewed on eyelet trim to the cuffs, neckline, and hem.
- On the outer dress, I followed the pattern exactly, except that I finished the armholes like you would a tank top, again with scrap fabric. I also added lacing to hold the neckline dip closed.
I hemmed both dresses up with a basting stitch, so the hems can be let down easily.
Now for the hard parts: The outer sleeves, and the back closure.
I split the sleeves in half across where the elbow would be, and finished the top and bottom edges, and joined them into tubes. I then made finished strips of fabric out of more scrap, and attached the lower sleeve to the upper sleeve, with a 2.5” gap.
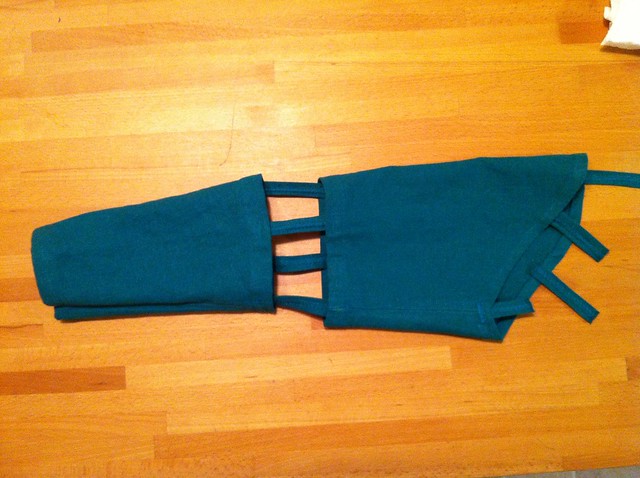
I then attached the upper sleeve to the shoulder in the same way, but with a 1” gap. Worked out pretty well, except that I guessed wrong about where to cut the sleeve, and Kivi’s elbow is actually inside the upper sleeve. Oops. Ah well. Not gonna change it.
Because I used an adult pattern, the dress was too big/loose on Kivi. The back of the dress closes with two strips of fabric with thoroughly anachronistic grommets, sewn on either side of the back opening, with lacing holding it closed. I just moved the strips out (closer to her sides) by about 2.5” on each side. That allowed me to cinch in more of the dress so that it could fit properly.

I also attached only the left grommet strip directly to the dress. I sewed Velcro to the right strip, and the other half of the Velcro to the dress. That allows you to “save” the lacing settings, and get in and out of the dress easily, without unlacing/lacing it each time. I added a zipper to hold the fabric flaps under the lacing closed.

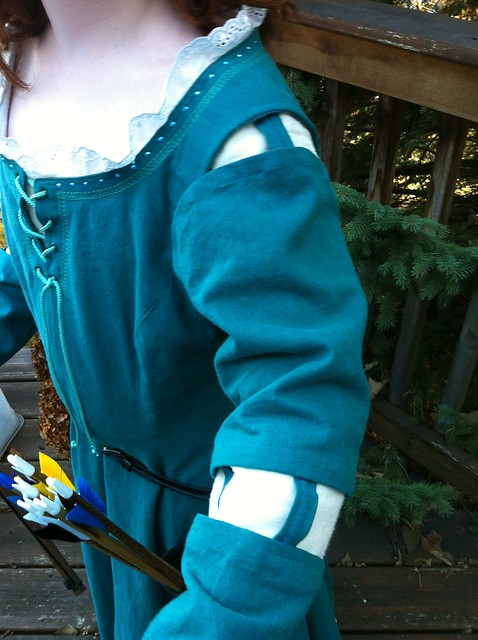
Kivi thought the dress was too plain (the dress is completely unadorned in the movie), so we added a bit of ornamentation. I couldn’t find any trim that I liked, so I just used glossy embroidery thread and added a decorative stitch around the neckline and cuffs, and applied some iron-on jewels around the neckline.


Finally, I put the two dresses together. Had to hand-sew (ick) the back opening of the chemise to the back of the zipper, so that the zipper would hold both dresses closed. I also hand stitched the two cuffs together, and then machine-stitched (woo-hoo!) the two necklines together.
I also found that the inner sleeves were not voluminous enough to puff out at the elbow. Huh. Not going to fix that, either.
I bought the bow-and-arrows from a vendor at the local RenFest. I ordered the belt quiver from an Amazon vendor, and the belt came from a pair of jeans she already had.
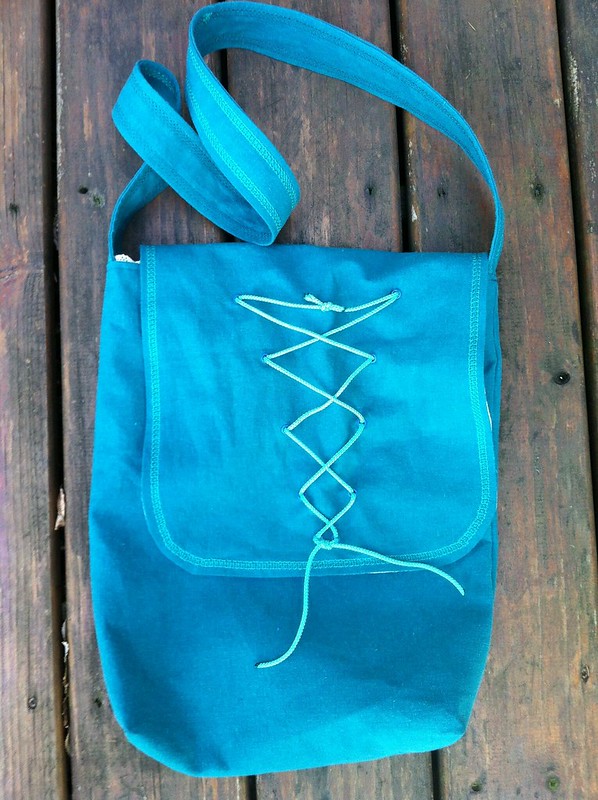
I also created a matching treat bag out of leftover fabric. I normally just wing it, and my results have been ... OK. Functional, but not anything special. I decided to try something a bit more polished, and followed these instructions.
Here's the outside of the bag:
Here's the inside:

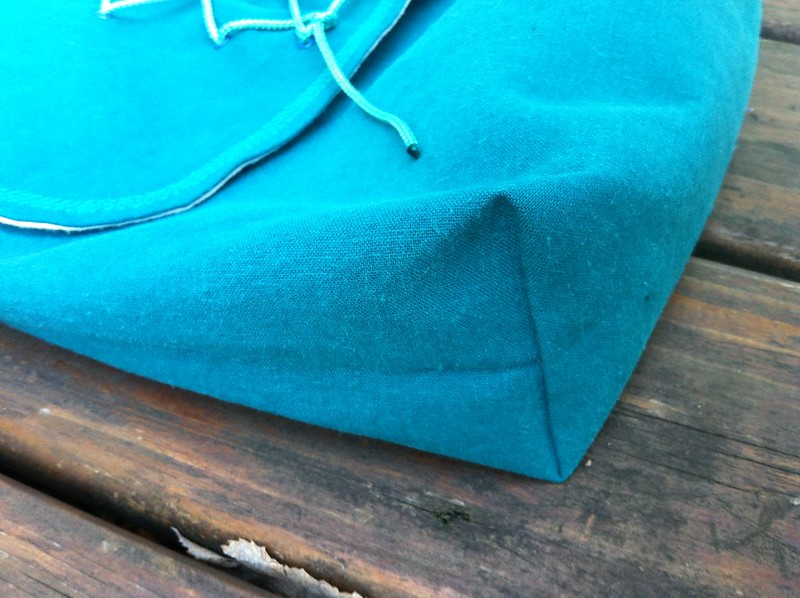
It's even got a flat bottom:
This is one of my favorite costumes ever. EVENTUALLY, I might even make one for me. Happy Halloween!
No comments:
Post a Comment